Crushing and pressing 100 pounds of grapes was the first step in making our first "real" wine, a Central Valley Grenache. We left off last time with around seven gallons of grape juice, most of it sitting in the primary fermenter with the grape skins and a few of the stems still in the mix. After adding yeast and waiting a day or two, a "plug" formed, with all the skins rising to the top of the fermenter.
We stirred every few days to degas and ensure that the yeast were evenly mixed through the fermenting juice...
...until the juice was about the color and character we wanted. If we had left the must (the skins, stems, seeds, and other assorted grape parts) remain in contact with the juice for longer, we would have ended up with a darker, "bigger" red wine, with a more dry and tannin-intense flavor. We didn't want to go too strong, so we stopped around here:
First, being good scientists, we recorded the specific gravity...
...and the pH.
The pH was in the range of 3.5, essentially unchanged from last time, but the specific gravity had dropped all the way to 0.993. That suggested the alcohol content of our wine will be around 13 to 14% by volume once it's ready to drink.
After we made our measurements, it was time to separate the juice from the must. We siphoned most of the juice straight to a glass carboy, leaving the must and some sediment at the bottom of the fermenter. Here I am, clearly excited to siphon.
Unfortunately, this didn't go as smoothly as we wanted. About halfway in, the tubing decided it had enough of our auto-siphoner, and Kierston took the brunt of it.
Once we'd recovered from our mini-disaster, we ran the sediment-laden juice and must through a strainer, reserving the skins. Here's Forrest, pressing the skins one last time to recover some last drops of juice. This was surprisingly effective--we guessed we got a free bottle of wine or two from the second pressing.
Here's the total volume of juice. Notice how incredibly sediment-y it is... this is mostly yeast biomass but also leftover particulate matter from the grapes that was too fine to strain.
For comparison, here's what our Carnot Cabernet looked like at this stage.
It's much redder--indicating that the finished wine will be darker--but otherwise similarly turbid. You wouldn't want to drink the wine at this stage, but fortunately, gravity started doing its job almost immediately to settle out most of the sediment.
The bottom sediment layer continued to grow for a few weeks; after a few days, the young wine developed this stratification pattern from phase separation.
A week or two later, the separation was nearly complete, and most of the wine was in the clear purple top phase. We racked again to discard the sediment, and replaced the wine into the carboy to wait for the slow secondary fermentation and degas steps.
Saturday, October 13, 2012
Tuesday, October 2, 2012
Grenache Grape-Crushing
Burdell Cellars got its feet wet making a wine from concentrate and some small batches of plum wines, but when the grape harvest came in early September, we were ready to make some legitimate, grapes-to-glass wine. The first step, naturally, was crushing one hundred pounds of Grenache grapes.
Here's what they look like close-up!
We got some friends together...
...poured some Carnot Cabernet...
...and got to work. Before we crushed the grapes, we had to de-stem them...
...and then it was time to crush. We're not big-time enough yet to have a crushing apparatus, so we improvised.
Once we had crushed all the grapes, we dumped all the juice and skins, along with about ten percent of the stems and seeds, into our fermenter. We dumped a crushed Campden tablet into the juice to sanitize it and let it sit overnight. The next day, we measured the initial sugar content (about 23 Brix) and pH (roughly 3.5). Then, we added activated yeast plus a little yeast nutrient to the fermenter, sealed it with the lid, and stuck in an airlock.
The shade of the wine--from light rosé to dark, tannin-y red--depends on how long you let the juice contact the skins and stems. We're aiming for a "medium-body" red, so we planned for about a 2-week contact time. We also set aside a batch of rosé that we separated from the skins and stems after only a few days. In the next post, I'll talk about the straining process where we removed the skins and stems.
Tuesday, September 25, 2012
Strictly Plumtonic Wine and Mead: more photos
Here are some more pictures from making plum wine, again courtesy of Kierston:
Kathryn and I are crushing some plums (and drinking Carnot Cabernet):
A really nice close-up of the plums from Kathryn's tree:
Me covered in plum pulp:
Kathryn, me, and Kierston crushing more plums:
Here's what seven pounds of pulp looks like:
Kathryn and I are crushing some plums (and drinking Carnot Cabernet):
A really nice close-up of the plums from Kathryn's tree:
Me covered in plum pulp:
Kathryn, me, and Kierston crushing more plums:
Here's what seven pounds of pulp looks like:
Carnot Cabernet: More photos from the vinification
Throughout the Carnot Cabernet fermentation process, Kierston has been taking some awesome pictures. Here's a few of the best.
Me adding the concentrate to the fermenter for the first time:
Forrest checking the specific gravity of the concentrate:
Close-up of the yeast added to the juice concentrate:
The oak float:
Racked to the carboy for secondary fermentation:
Forrest adding a stabilizer to the wine:
The wine degassing:
Gryphy, Burdell Cellars' mascot, keeping her watchful eye on the wine as it fines and clarifies:
Thursday, September 20, 2012
Mini-Mead: A Lesson Learned
Last month, I took care of Forrest and Kierston's cat while they were away for a week. As a thank-you gift, they gave me this amazing "redneck wine glass," which is in fact a mason jar attached to a stem. I decided to use it to pursue a little side project, Oak Barrel's "mini-mead" recipe. It's two parts clover honey to one part water, with a little acid to liven it up. I used some leftover yeast and yeast nutrient from our plum wine.
Here's what it looked like when everything was mixed together. The mason jar has a tight seal, which prevents contamination but builds up pressure easily. Unfortunately, I didn't have the luxury of an airlock, which meant I had to vent every day, then seal it again, shake to mix up the yeast and gas, then vent again for good measure.
After keeping up that protocol for a few weeks, the foaming kept getting stronger every time I shook my mini-mead. That's a good sign--it means the fermentation is working--but it also means the vessel was getting more pressurized. So when I took a trip to Boston to visit Steph, I had to choose between sealing the container and risk breaking it (and getting a mead puddle on my carpet) or leaving it open a crack and risk contamination. I decided losing a batch of mead was worse then losing my awesome redneck wine glass...
...and when I came back, it was brown and nasty. My glass was intact, fortunately, but my batch of mead was sadly ruined. Lesson learned: buy an airlock for your fermentations.
Here's what it looked like when everything was mixed together. The mason jar has a tight seal, which prevents contamination but builds up pressure easily. Unfortunately, I didn't have the luxury of an airlock, which meant I had to vent every day, then seal it again, shake to mix up the yeast and gas, then vent again for good measure.
...and when I came back, it was brown and nasty. My glass was intact, fortunately, but my batch of mead was sadly ruined. Lesson learned: buy an airlock for your fermentations.
Sunday, September 9, 2012
"Strictly Plum-tonic" Plum Wine and Mead
So we picked a whole lot of plums.
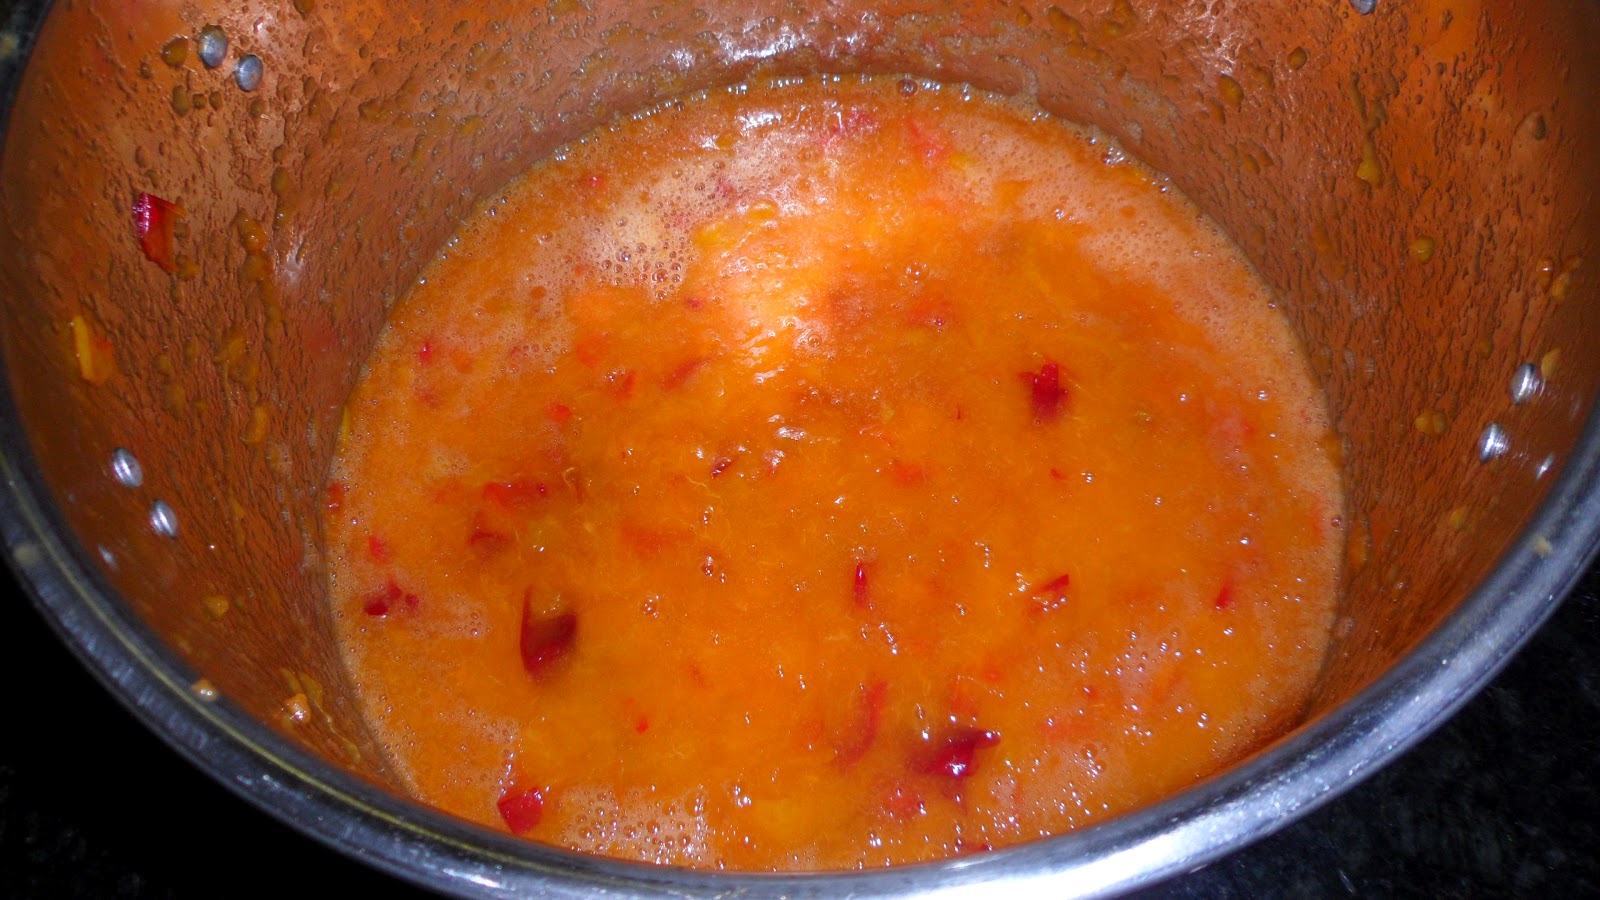
A few days later, we crushed around 7 pounds of plums. We planned to use about half for a plum wine (adding sugar) and the other half for plum mead (adding wildflower honey). Here's what 7 pounds of plums looks like, crushed and pits removed but with skins and pulp still in there.
We added some boiling water to bring the total volume up to 2 gallons. The water helps to draw remaining juice off the skins and sterilize the batch.
A day later, once the batch had cooled back down to room temperature, we used a strainer to filter out the remaining skins and pulp. Here's what it looks like once it was clarified a bit.
Next, we measured out 3.5 pounds of sugar and honey for the wine and mead batches.
Then, we mixed together the clarified plum juice and the sugar...
...and put a gallon of each into a glass jug, along with the usual yeast and nutrient, for fermentation.
We did it as scientifically as possible, making each batch identically except for using honey in one and sugar in the other, so it'll be interesting to see how they turn out. We ended the primary fermentation a few days ago, racking to new jugs and discarding the yeast and remaining plum sediment. After a few more months of fermentation, the mead and wine should be ready to drink, perhaps a lovely winter beverage if everything works out like we're hoping.
Subscribe to:
Posts (Atom)